You're being redirected to
Astra Street Furniture.
Astra Street Furniture is a brand of
The Area Safe Group.
All purchases will still be invoiced through:
Area Safe Products Pty Ltd - ABN 74 114 414 185
Why Choose Area Safe
 Speed of Service
 Easy Systems
 Product Designers & Developers
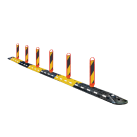
 Car Park Protection
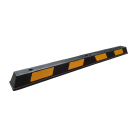
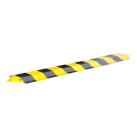


 Industrial Safety


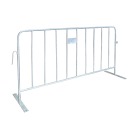
 Pedestrian Barriers
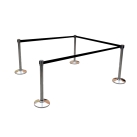


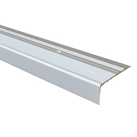
 Matting, Ramps & Tactiles
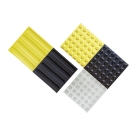

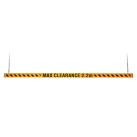
 Signage & Safety


 Urban Furniture
Wheel Stops

Frequently Asked Questions
If the Australian standards are not met, it will diversely affect the strength and integrity of the wheel stop. If the wheel stop is incorrectly installed or non-compliant it will also void any warranty offered with the product.
The wheel stop should be placed an equal distance between the side lines of the car space. The Australian standard according to AS2890.1:2004, states the distance from the wall or kerb that the wheel stop should be positioned is as follows:
Standard Kerb (up to 150mm high) where cars:
- Front in: 620mm from the kerb to the back of the wheel stop
- Rear In: 900mm from the kerb to the back of the wheel stop
High Kerb or Wall (higher than 150mm) where cars:
- Front in: 820mm from the kerb to the back of the wheel stop
- Rear in: 1100mm from the kerb to the back of the wheel stop
Recommended Installation for wheel stops onto concrete or bitumen
- Clean area
- Position with template or wheel stop.
- Drill holes for dowels
- If onto concrete, drill 70mm deep holes so dowel remains 80mm above ground. If onto bitumen, drill through bitumen layer and hammer remaining so there is 80mm remaining above ground.
- Remove template and clean area.
- Epoxy dowels in place.
- Epoxy base of wheel stop and lower over dowels.
- Grout around dowels using non shrink grout.
- Jack hammer or sledgehammer around the fixing points so the wheel stop breaks up around the fixing point/positioning pins
- Once broken away from the positioning pins/fixing points, you can use reo bar cutters or a grinder to cut the reinforcing bars inside the wheel stop.
- You will then be able to pick up and remove the broken-up pieces of wheel stop.
- The last thing that will need to be removed is the positioning pins to ensure there are no trip hazards. The positioning pins will need to be grinded down to surface level.
One potential issue with removing concrete wheel stops is if the concrete wheel stop was installed with adhesive or epoxy on its base. If this is the case, you will have to jack hammer or sledgehammer the complete wheel stop. If the wheel stop has been glued down, the surface under the wheel stop will be very rough after breaking the wheel stop away. This can be fixed by grinding the surface smooth after the concrete wheel stop has been removed.
Recommended Installation for Wheel Stops onto bitumen
- Clean area
- Position wheel stop or template according to AS2890.1:2004 standard
- Drill Ø10mm pilot holes through the fixing holes in the wheel stops or template, just penetrating through the bitumen layer
- Move wheel stop or template aside and clean area
- Add sealant adhesive to underside of wheel stop (optional) and into the bitumen holes
- Position wheel stop and hammer in M12 x 300 Gal fasteners ensuring the head of the fastener is seated correctly in the recessed area of the wheel stop
Recommended Installation for wheel stops onto concrete
- Clean area
- Position wheel stop or template according to AS2890.1:2004 standard
- Drill Ø10mm pilot holes through the wheel stop or template ± approx. 50mm deep
- Move wheel stop or template aside and finish drilling holes Ø16mm x ± approx. 90mm deep
- Extract dust from holes and clean area
- Add sealant adhesive to underside of wheel stop (optional)
- Position wheel stop and fasten with M16 x 145mm D-Bolts and washers. Ensure that the top of the fastener is seated correctly in the recessed area of the wheel stop
From The Blog


Video Gallery
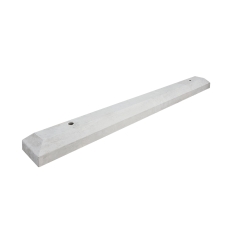
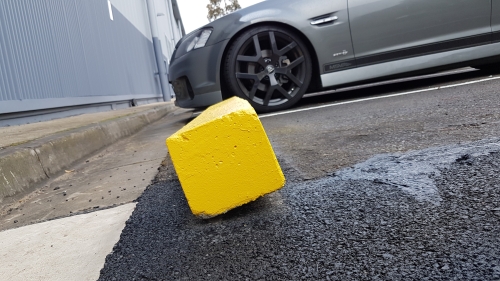
Durable Wheel Stops for Effective Parking Control
Area Safe provides a comprehensive range of high-quality wheel stops designed to enhance safety and control in parking areas. Whether for car parks, garages, or public spaces, our wheel stops are essential for preventing vehicle damage and ensuring precise parking.
Built to withstand various weather conditions and heavy usage, our car park wheel stops are an ideal choice for long-term use in outdoor and indoor environments.
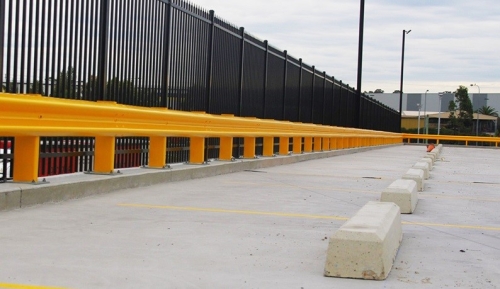
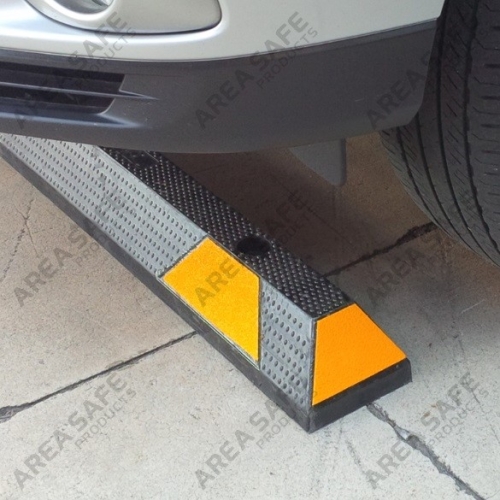
Car Park Wheel Stops for Enhanced Safety
Our car park wheel stops help protect vehicles and surrounding structures by providing a physical barrier that prevents vehicles from overrunning parking spaces.
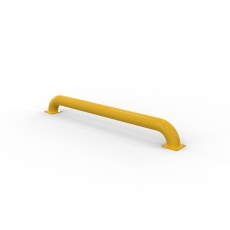
We offer durable and reliable solutions for commercial and public car parks with options available in concrete, rubber, and steel.
Wheel Stops in Australia for Every Need
We have the best car park wheel stop options available in Australia. Our range includes options suitable for different parking facilities, ensuring maximum protection and compliance with safety standards.
Whether you need rubber wheel stops for flexibility and impact resistance, or concrete wheel stops for durability, we have the right product for your requirements.
We also offer steel wheel stops for environments where extra strength and resilience are necessary.
Choose Area Safe for Safety Products and Street Furniture
Area Safe is a trusted name in commercial street furniture and products for creating safe and secure parking environments.
Our wheel stops are designed to provide functionality and durability, making them an essential part of any parking solution.
Explore our range of high-quality wheel stops today and take the first step towards safer, more organised parking spaces.
![]()
![]()