 Speed of Service
 Easy Systems
 Product Designers & Developers
 Car Park Protection


 Industrial Safety
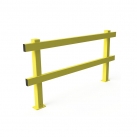


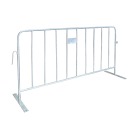
 Pedestrian Barriers
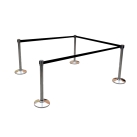


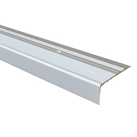
 Matting, Ramps & Tactiles
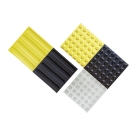

 Signage & Safety


 Urban Furniture
How to Plan Barrier Placement Using Flexible Polymer Systems


Installing barriers is easy. Knowing where to put them is where safety outcomes are made or lost.
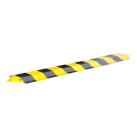
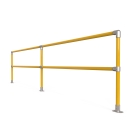
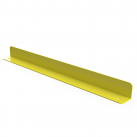
Flexible polymer systems like the Surex Polymer Flexible Warehouse Barrier are designed to absorb impact, flex under load and return to shape. This reduces damage to vehicles, infrastructure and concrete floors compared with rigid steel systems.
But performance depends on placement.
Below are the key principles to follow when planning barrier layouts in warehouses and industrial facilities.
1. Map Traffic Before Installing Anything
Start with movement, not product.
Identify:
- Forklift routes and turning points
- Pedestrian walkways
- Reversing areas
- Congestion points
Barriers should intercept real conflict zones. Installing them without understanding traffic flow often creates blind spots or awkward manoeuvres.
2. Physically Separate Pedestrians and Vehicles
Painted lines rely on behaviour. Barriers create physical control.
Use flexible polymer barriers to:
- Define pedestrian corridors
- Shield workstations near forklift lanes
- Protect doorways within operational zones
The Surex polymer system flexes on impact, reducing shock transfer to the slab while maintaining a visible boundary.
3. Protect High-Impact Zones First
Prioritise areas most likely to be struck:
- Rack ends
- Loading dock approaches
- Tight corners
- Machinery perimeters
Flexible polymer barriers are well suited here because they absorb energy rather than bending permanently or damaging anchors.
Do not overprotect low-risk areas while leaving critical points exposed.
4. Maintain Visibility
Poor placement can create new hazards.
Avoid:
- Blocking sightlines at intersections
- Narrowing aisles below operational clearance
- Forcing forklifts into tight turns
Barriers should guide movement, not restrict it unnecessarily.
5. Design for Flexibility
Warehouse layouts change.
Modular polymer systems allow sections to be reconfigured as traffic patterns evolve. Plan spacing and layout so future expansion or relocation is possible without major rework.
6. Integrate With Broader Traffic Management
Barriers work best when combined with:
- Clear floor marking
- Speed controls
- Signage
- Defined traffic plans
They are part of a layered safety system, not a standalone solution.
Final Considerations
Effective barrier placement:
- Separates risk zones
- Protects infrastructure
- Preserves floor integrity
- Supports workflow
Flexible polymer systems such as the Surex range provide impact-absorbing protection, but correct placement is what determines real safety outcomes.
Before installing your next barrier, assess movement patterns first. The layout should reduce interaction between people and machinery, not just react to previous incidents. If you need guidance reviewing your facility layout, Area Safe can assist with tailored barrier planning and configuration advice.